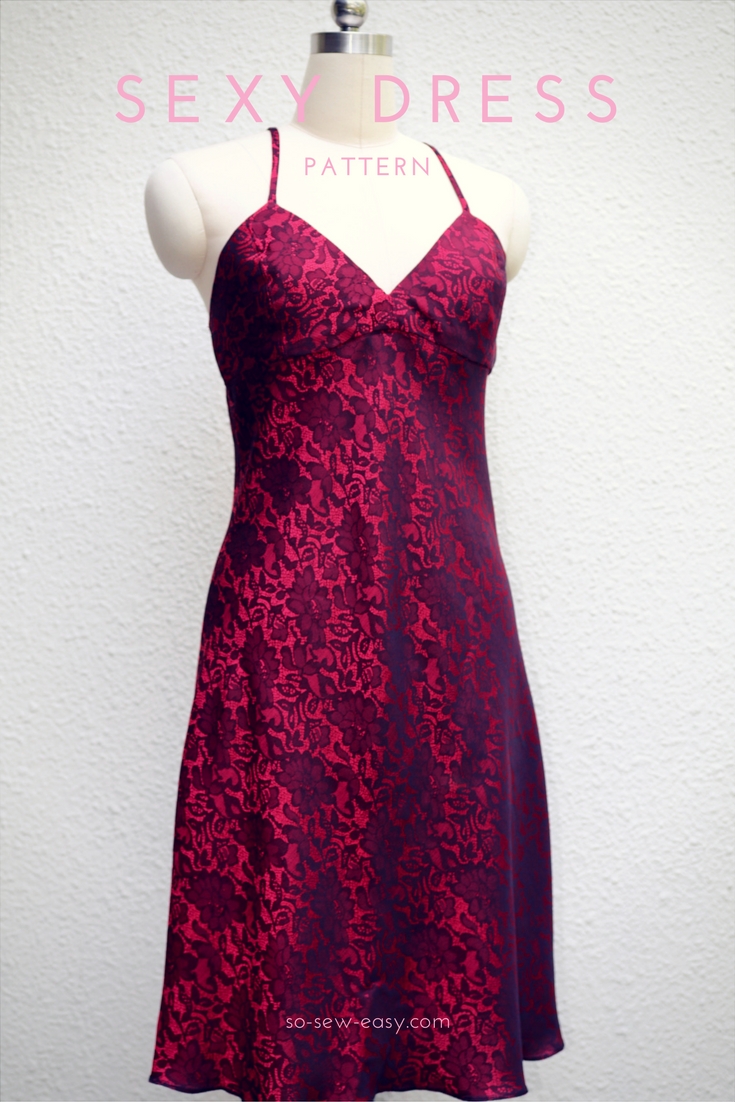
How to Sew a Sexy Easy Outfit

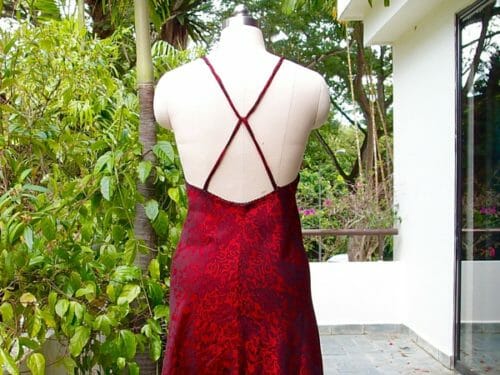
This Valentine's Day, we have something special for you –something sweet or something racy– with a free sexy dress pattern and tutorial. This dress comes with a warning! Be careful. You may struggle to keep your lover's hands off you when wearing this..
This is an intermediate-level project. It will take some time to make, but once it's done, you'll be happy to spend time in it! It is comfortable, but sexy and is a very flattering design. I have designed it on a bias and simplified the construction as much as possible. I have made it especially for the curvy girl in mind. The smallest size will accommodate a bust and hips between 43″ and 45″. I have not used fusible interfacing because I did not want any more support, and my fabric did not need it. You are welcome to use fusible interfacing if your fabric allows it.
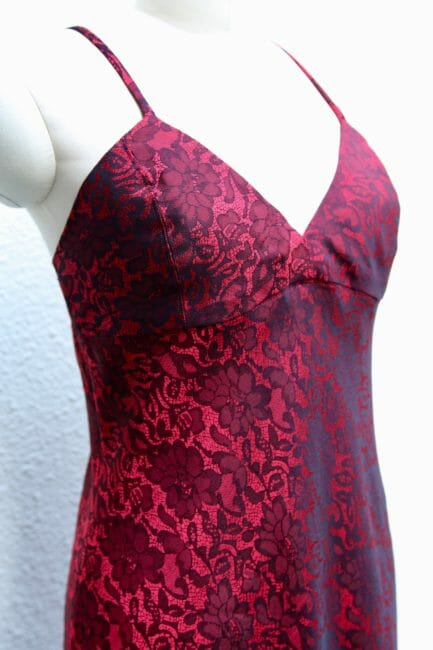
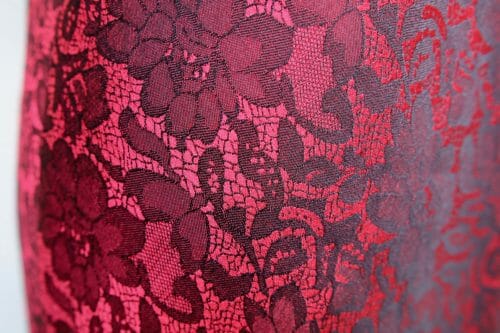
If you have something sweet in mind, I recommend the use of a very soft cotton voile or silk chiffon. If racy is what you want, then try to find the same fabric I am using. It is a satin/silk back crepe or lace. Other fabrics you can use are Charmeuse satin or silk damask. I'll give you a few good suggestions from Fabric.com below.
This pattern and tutorial are completely free to you. The design and pattern are entirely original and, as you can imagine, has taken some time to put together. I really hope that you enjoy it and that it adds some spice to your Valentine's Day!
Here are the materials we will be using:
- 3 yards of fabric, more if you are matching the print
- fusible interfacing (optional)
- thread to match the fabric
- elastic lace for decoration; 23 1/2″
- a loop turner
Finished Garment Measurements:
This pattern is designed with the curvy girls in mind.
| Small | Medium | Large | |
| Bust | 42″ | 44″ | 46″ |
| Waist | 38″ | 40″ | 42″ |
| Hips | 44″ | 46″ | 48″ |
Suggestions from Amazon.com
Pattern Download
Print the pattern using Adobe Reader in Landscape mode, and actual size.

Download the Free Sexy Dress Pattern
You can download the pattern pieces and instructions for the Free Sexy Dress Pattern from Payhip. Save to your computer or pattern library and sew at your leisure.
For help downloading and printing PDF patterns, please CLICK HERE.
Pattern Layout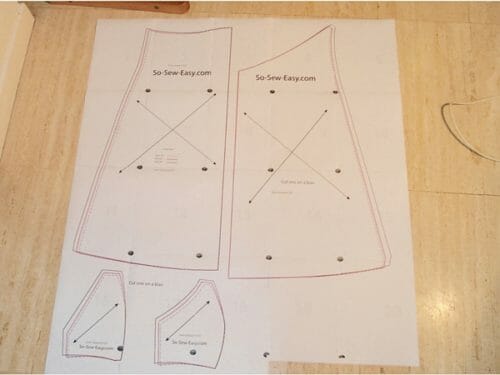
Step One: Download, print and assemble your sexy dress pattern
Print the pattern and tape it following the numbers. You will have 23 pages to print in total. Please match the black circles. There are small numbers on each side of the circle to guide you. If you need further guidance on how to do these, please read our post on: How to download and print PDF sewing patterns
Take the front pattern and retrace it to make one big pattern piece. The front will be cut from the fabric as a single whole piece. There are two pieces to the bottom back of the dress that are stitched together in a later step.
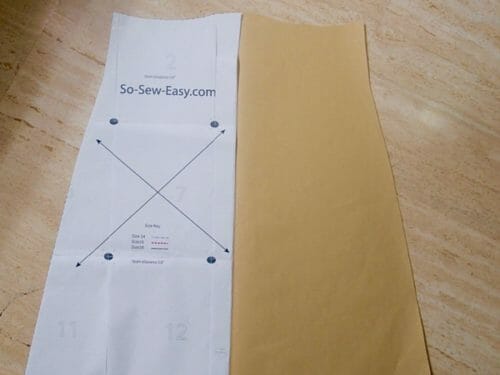
Step Two: True the fabric
Iron the fabric, true it and find the grain of your fabric. We won't go into this much right now since we did a recent post on how to do this. If you don't recall how, please read review our post on: Top 5 Mistakes to Avoid When Cutting Fabric
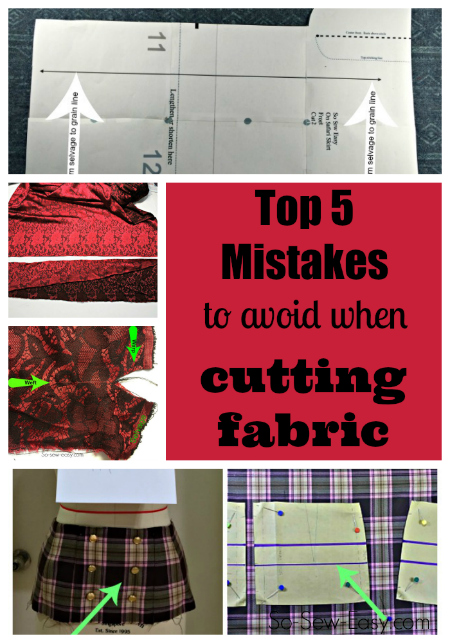
Read This Article
Step Three: Cut pieces and begin assembly
For the top, you will need to cut two sets of each cup piece because we are self-lining. By this, we mean that one set will be the outside and one set the inside of the garment. This will add support without making it stiff. If you are using fusible interfacing this is the time to cut it and iron it into the fabric.
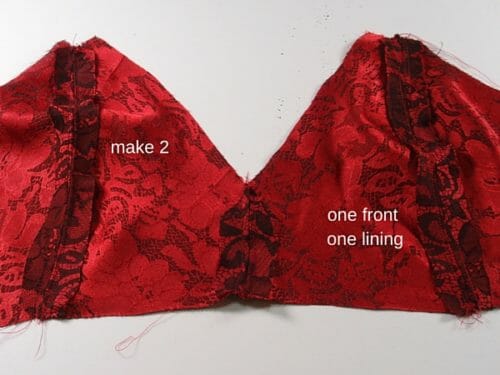
Sew the four pieces together and press the seams open to create one half of the top. Sew another set of four pieces to create the other half. Later these will be joined together with the seams all facing inside to create a soft yet supportive top.
Notice there is no interfacing in my garment. This is because I wanted to keep the softness in the fabric. Since I have self-lined the top, interfacing will not be required to have any more bulk. If you are planning to wear this garment as a cocktail dress then perhaps you want to use a very delicate fusible interfacing.
Step four: Topstitch
Topstitch the cups 1/8″ on either side of the center seam, this will help the seams lay flat once when the garment is completed and will add a decorative stitch if you are using a solid color.
Step Five: Attach cups to bodice
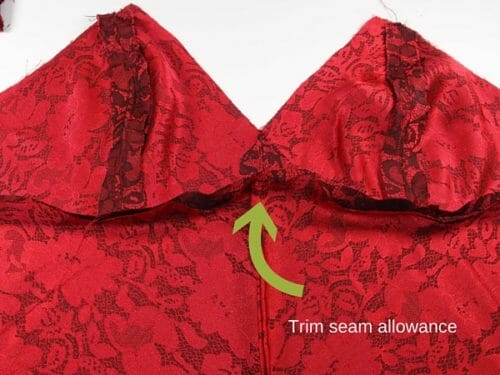
Attach one set of the cups to the bodice and trim the seam allowance by half, iron the seam upwards.
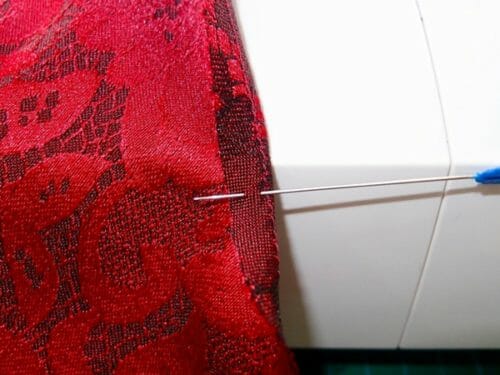
Step Six: Make the straps

Cut a strip of fabric 1.5″ by 25″ to 27″ long depending on the size you are working on. Fold the strips in half and stitch them right in the middle. If you want more support, you can make the straps wider and add fusible interfacing to make them stiffer. I have chosen not to use fusible interfacing because I want to preserve the overall soft feeling of the garment. You can use interfacing if you prefer but you need to trim the seam allowance because it will become difficult to turn.
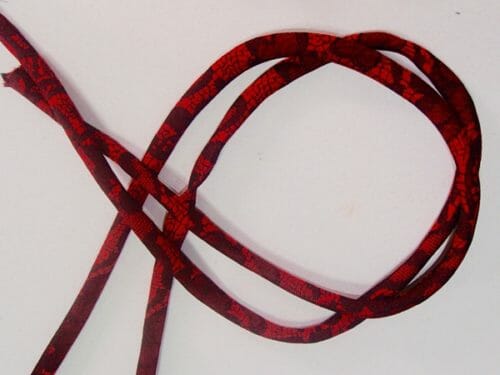
Turn the straps inside out using a loop turner and set aside.
Step Seven: Attach straps and assemble the cups
Please follow these steps carefully. It will save you time with the seam ripper.
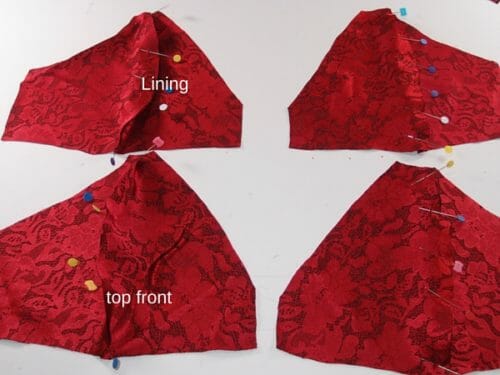
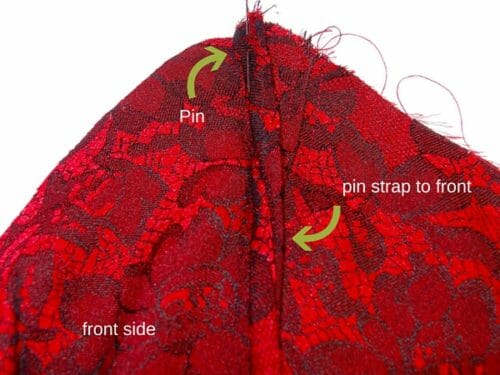
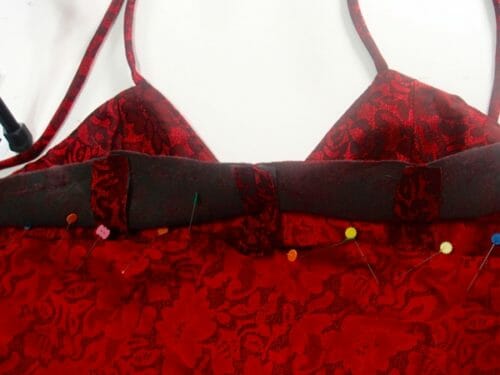
Take the front of your garment and place it on the table right side up (print on top and towards you). Pin your straps at the tip of the cups so they essentially hang down the front. See picture above. This might seem to be counter-intuitive but you'll see how this all comes together later.
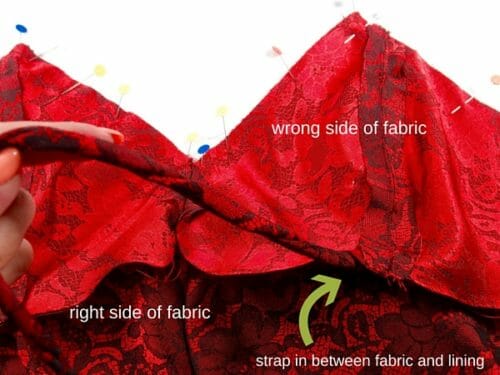
Take the lining set of cups and front set with the skirt attached line them up with the straps in the middle like a sandwich.
Step Eight: Sew together the front, lining, and straps
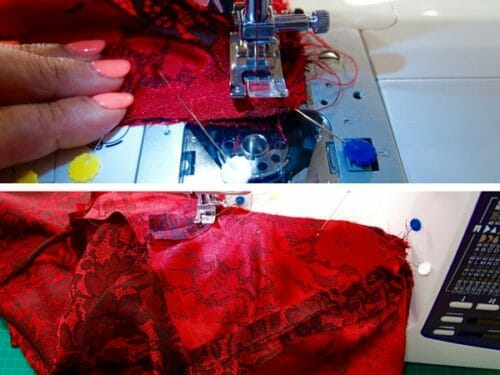
Sew only the top along the top edge of the garment where the straps are located. Please take particular care in the two places where the straps are attached and the middle of the chest where the center seam is located. At these three points you most pivot the corners taking care to always respect the seam allowance.
Trim half of the seam allowance along the inside of the top edge. Turn and iron the top.
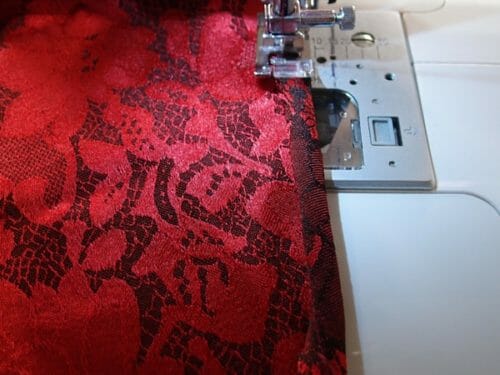
Step Nine: Sew together two back pieces

Sew the back pieces using a french seam. If you need additional guidance with this, please see our tutorial: How to sew a French Seam
Read This Article
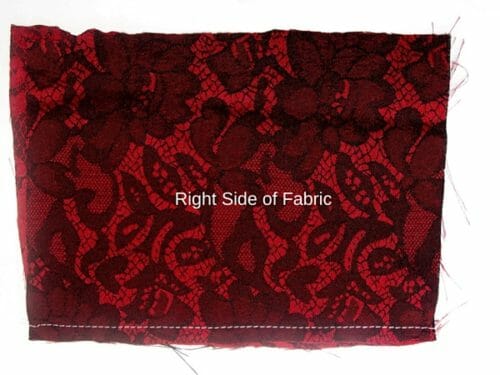
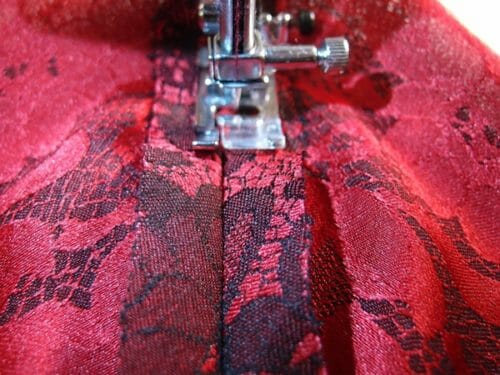
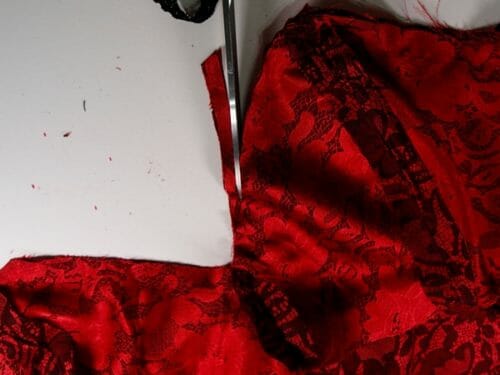
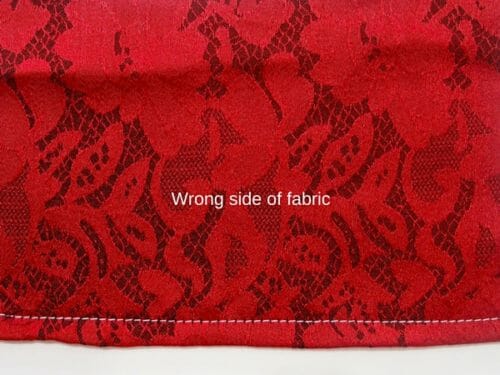
Here is how to do it: Place the wrong sides (non-print side) together and then sew on the right side (print side) of your garment a 1/4″ seam allowance. I am using white thread on a sample so you can see the stitching clearly.
Cut less than half off the seam allowance and iron to the side.
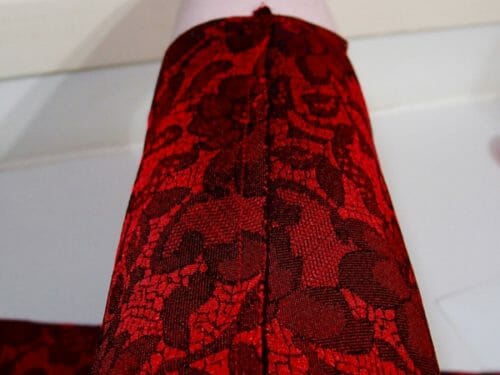
Fold the fabric on the seam and iron flat.
Sew another 3/8″ seam once again. The raw edge will completely be covered. This will be the inside of your garment and outside will be smooth and neat.
Step Ten: Finish the skirt lining
Attach the top and the skirt, right sides together. Seam allowance will be on the wrong side of the fabric. Iron the seam upwards. You can either use pins as in the photo or hand basting.
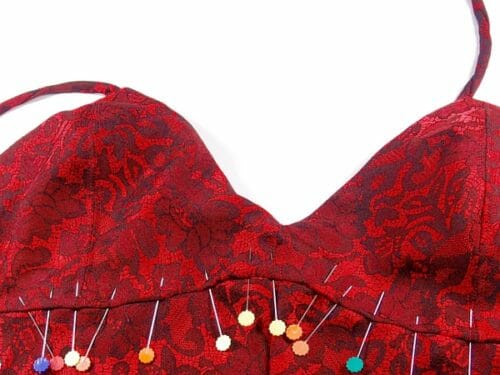
Fold the raw edge of the lining 5/8″ inward and sew either by hand or by machine being guided by the gap between the top and skirt. This seam will hardly be noticed.
Step Eleven: Finish the back
Zigzag the top of the skirt and fold it 1/2″.
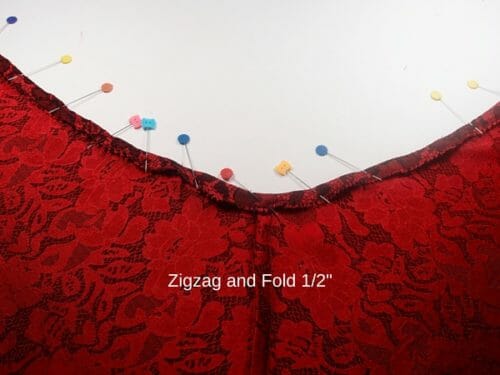

Baste the seam and set aside.
Step Twelve: Sew the straps to the back and join everything together
Very simply join the front and the back at the sides, the wrong side together.
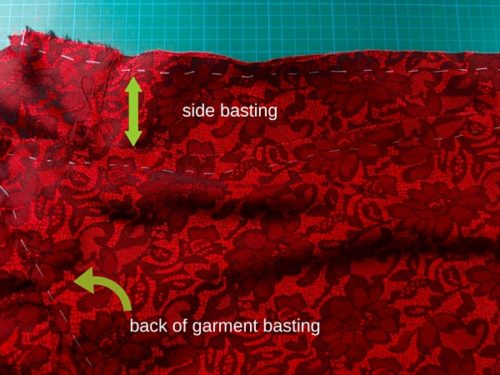
Baste the garment on the sides, this step might look unnecessary, but when working with delicate fabric pinning is not always ideal because the pins fall down. Silk is a slippery fabric and when cut on a bias has the tendency to lose the shape, that is why it is better to baste the garment all along the sides.
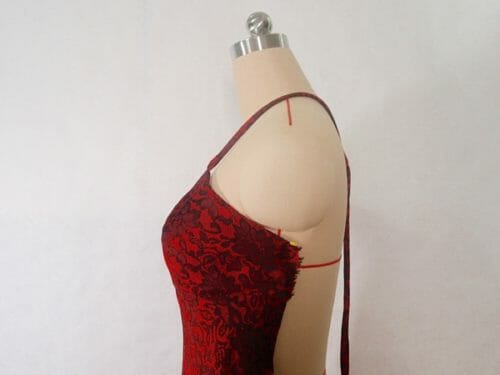
I have used the French seam again which is my preferred seam when working with silk because it protects the fabric from unraveling and prolongs the life of your garment. This is the time to try the dress on and find the place where you want to sew the straps. I have sewn them 5″ from the center back line, however, this is entirely up to you. Twist the straps as if you were going to tie your shoes and attach the straps to the back, 5″ from the center seam. This measurement depends on your taste and of course your measurements. You will have to make the fitting according to your body measurements. Check your back, is it too wide for you? By how much? On the small size, the back measures 23 inches, if the back is 2″ too wide for you, cut your stretch lace 22″.
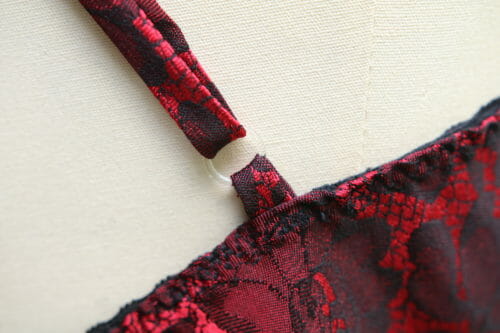
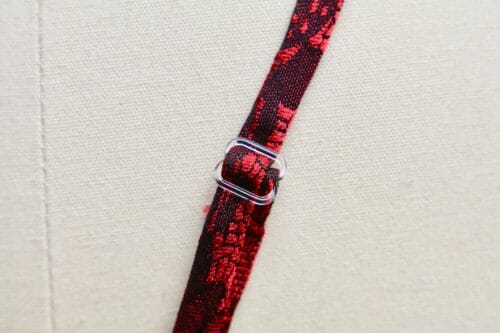
As an option for the more advanced sewists, you can add lingerie adjuster sliders and rings to allow for more adjustment options but I won't be covering this in the tutorial.
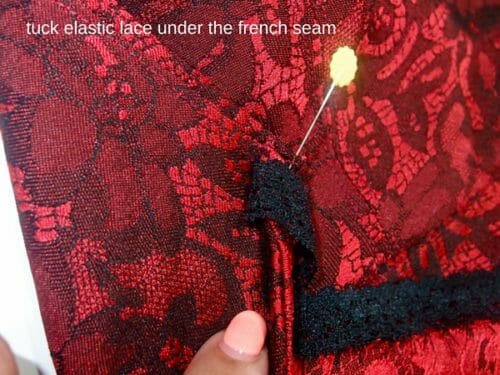
At this point, you are almost finished. Make sure both sides seam allowances are facing to the front. Press them with the steam iron and pin them. Take your lace and
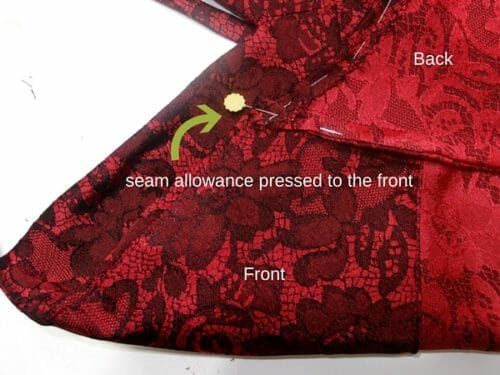
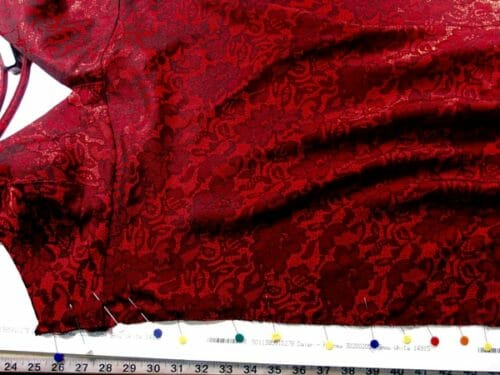
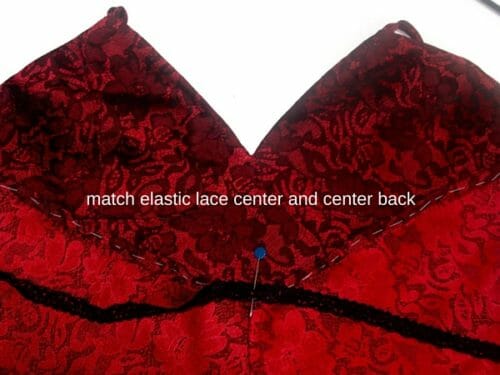
Match the middle of your elastic to the middle of the back.
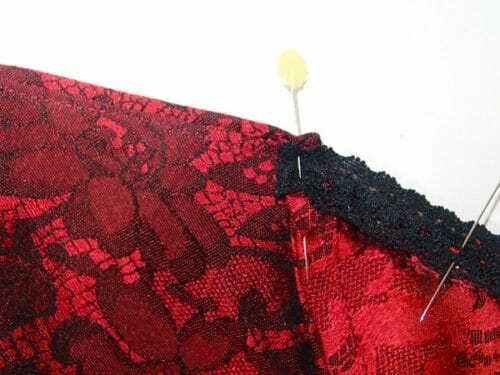
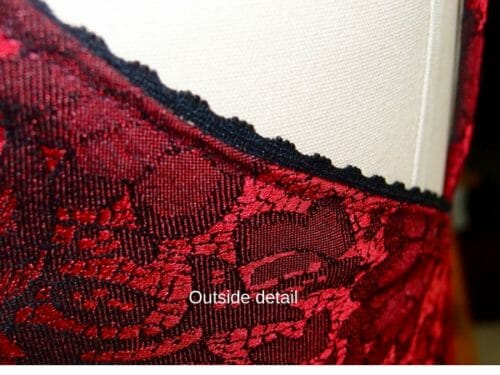
Pin the elastic on either side. The elastic should be 2 " smaller than the measurement of the top of the skirt. Attach the elastic to the top of the skirt on the wrong side of the skirt allowing the top of the elastic to show as a decorative motif.
Tuck the ends of the elastic under the french seam.
Sew the elastic, at this point you could use a twin needle or just make to rows of stitches.
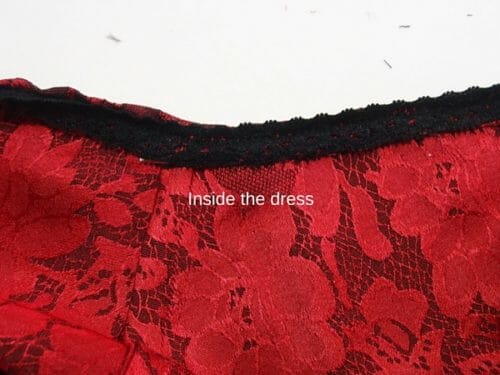
Iron the dress and press all seams flat. Make sure all the seams face the same way from the join of the top and the skirt to the hem.
Step Thirteen: Hem the dress
The best way to make the hem in a delicate fabric such as silk or satin is to stitch all around the hem at 1/4″. Fold and iron using this stitch line as a guide.
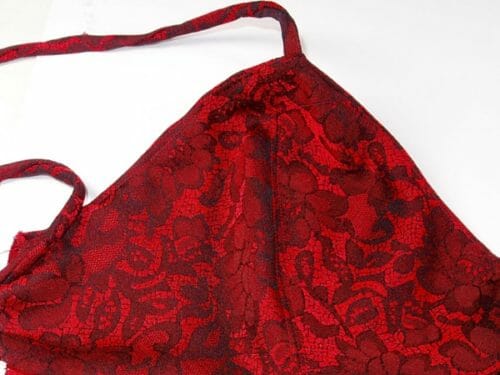
Fold one more time and sew very close to the edge. Your hem will have a very professional and delicate look. Iron the hem and voila!!!!
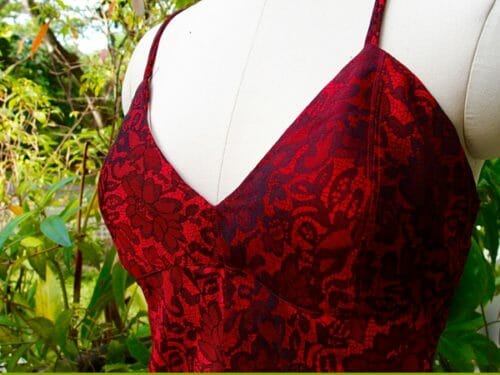
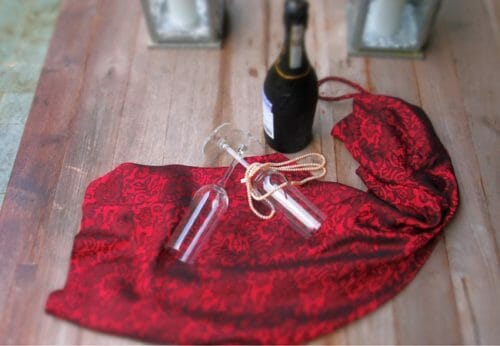
Step Fourteen: Try it out with your lover;)
You are done! Because I have used silk in a very bold color, I can't really decide if the end result is something sweet something racy. What do you think? Why don't you try and share with me your take on this pattern? It would be great to hear how you go with this project. Please post your comments, questions, and pics (not too racy pls..) below.

If You'd Like To Support Our Site
If you want to help us continue to bring you a wide selection of free sewing patterns and projects, please consider buying us a coffee. We'd really, really appreciate it.
andersonkillaimpon.blogspot.com
Source: https://so-sew-easy.com/something-sweet-something-racy/
0 Response to "How to Sew a Sexy Easy Outfit"
Publicar un comentario